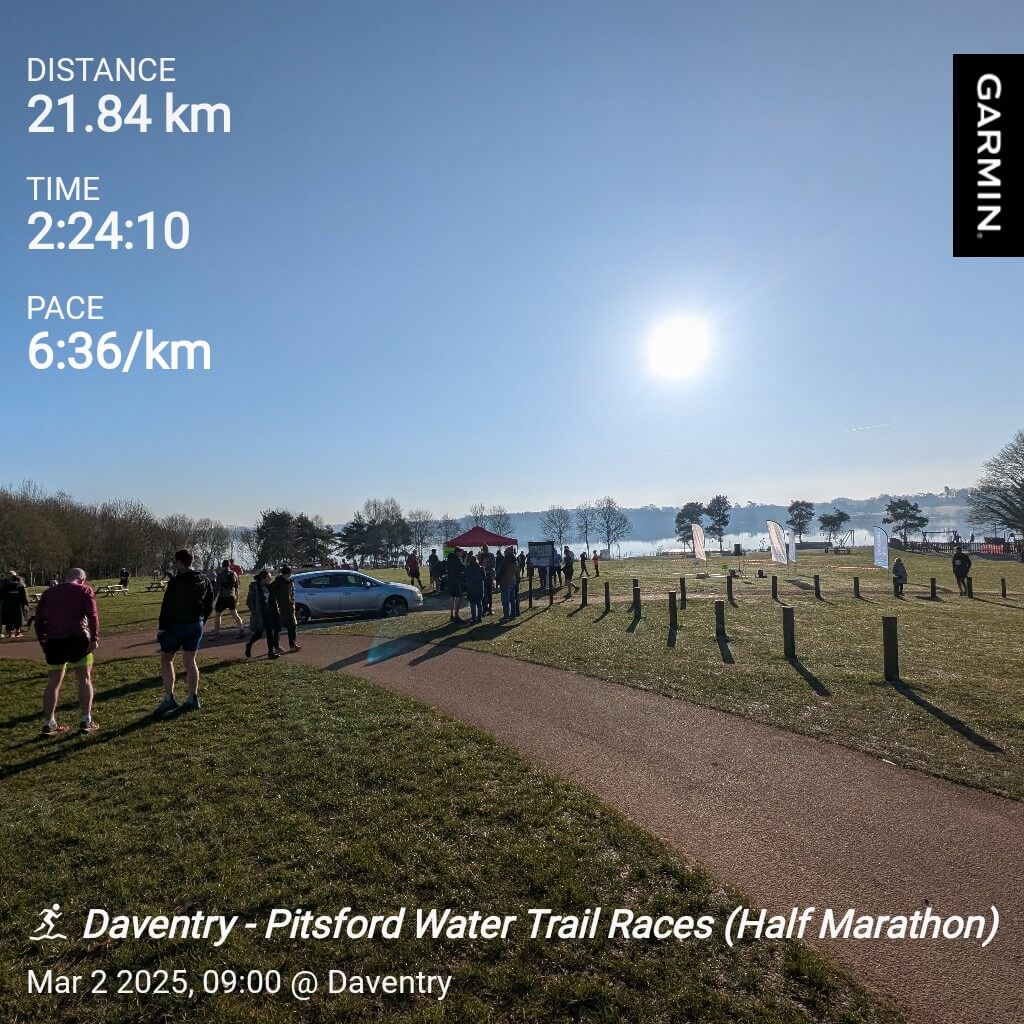
My 3rd year doing the Pitsford Trail Half Marathon. Didn’t think anything could compete with how wet and muddy it was the first year I did it, but this years race may just take the cake! Such a blast slipping and sliding through the Northamptonshire countrysude, Sealskinz waterproof socks and trail shoes really came into their element once again.
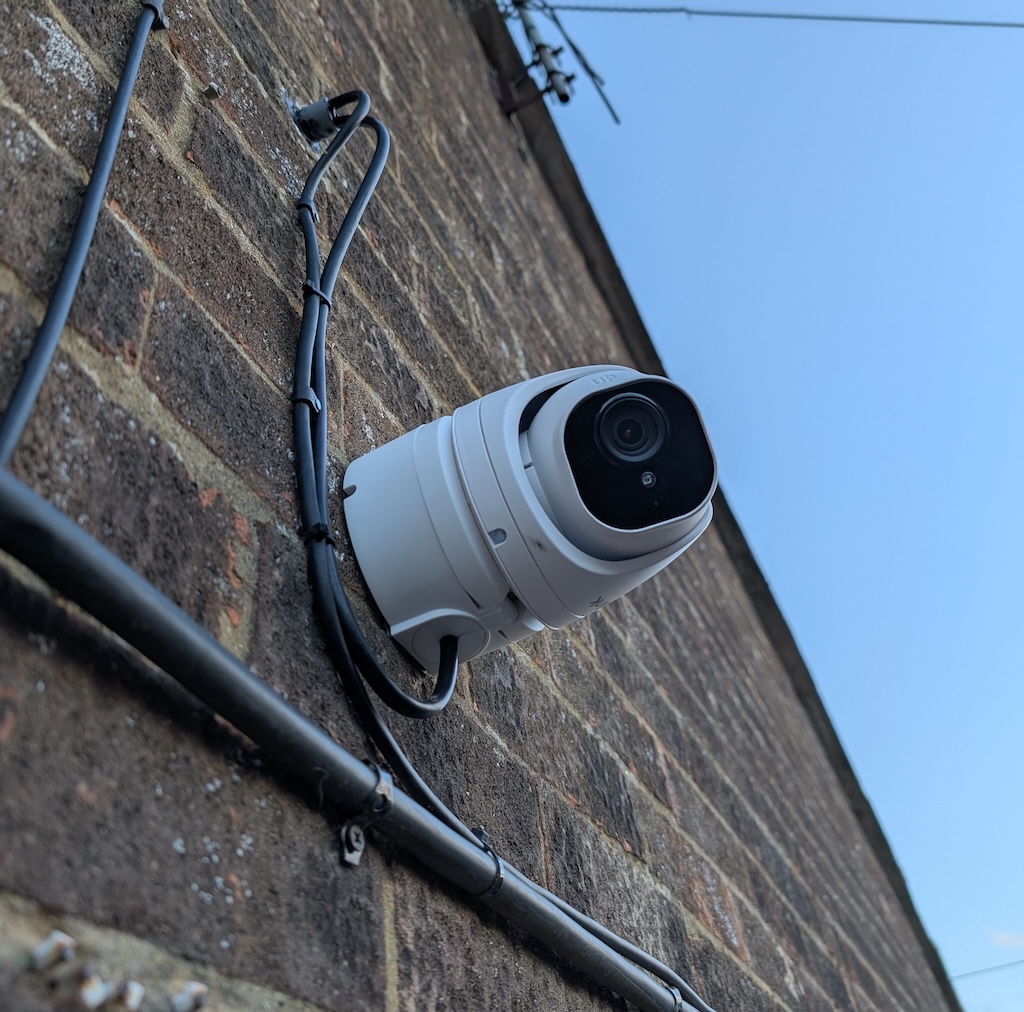
I looked all over for the answer to this before I purchased them! The camera module itself rotates to almost any angle within the mount, so you can easily angle it in any direction. All the pictures online depict the camera as being mounted upside down which led me to the impression it might only tilt forwards and backwards (and rely on the mount rotating to get left/right movement), but you can quite happily mount it on the side of a wall like I have here and rotate the camera so “up” is still up.
The company encourages those who have been holding out hope for a larger iMac to consider the Studio Display and Mac Studio or Mac Mini, which pair a 27-inch 5K screen with a separate computer, compared to the all-in-one design of the iMac.
Apple in 2023 makes some questionable decisions but this is top of the list I think. I know so many people (myself included) who have owned a 27″ iMac, it was such a great “bang for the buck” buy for almost its entire run. The decision not to make another one is absolutely mind blowing.
I needed to re-install Windows 10 on my PC after an SSD failure, but after reading many tutorials online, the best I could get was booting to the install screen and it getting stuck at 0% then erroring. After many hours of trying, I eventually found the solution to my problem on Superuser. I’ve gone ahead and put all the steps I took to get it working below.
Strava provides a way of mass editing some of your previous activities settings (e.g. privacy) but doesn’t provide a way of filtering which ones you want to edit. In my case I wanted to make a privacy change to every walk I’ve ever done, but leave bike rides and runs as they were. I stumbled across this which has done the job perfectly.
Stumbled across this awesome collection of the little buttons you used to find at the bottom of websites back in the 90’s/00’s, a proper blast from the past!